Table of Contents
- The importance of high-quality product photography
- Understanding the latest trends in product photography for 2024
- Essential equipment for DIY product photography
- Setting up your product photography studio at home
- Lighting techniques for professional-looking product photos
- Composition and styling tips for captivating product images
- Editing and retouching your product photos
- Optimizing your product images for online platforms
- DIY product photography mistakes to avoid
- Additional resources and tools for DIY product photography
- Conclusion
The importance of high-quality product photography
Product photography plays a crucial role in the success of any business, especially in the digital age where online shopping is becoming increasingly popular. High-quality product images can significantly impact a customer's decision to purchase a product. In fact, studies have shown that 75% of online shoppers consider product photos to be the most influential factor in their purchasing decisions.
With the advancements in technology, visual content has become more important than ever. Customers want to see detailed and visually appealing images that showcase the product's features and benefits. The quality of your product photography can make or break a sale, so it's essential to invest time and effort into capturing stunning images that effectively represent your products.

Understanding the latest trends in product photography for 2024
As technology continues to evolve, so do the trends in product photography. To stay ahead of the competition, it's crucial to stay updated on the latest trends and techniques. In 2024, some of the key trends in product photography include:
-
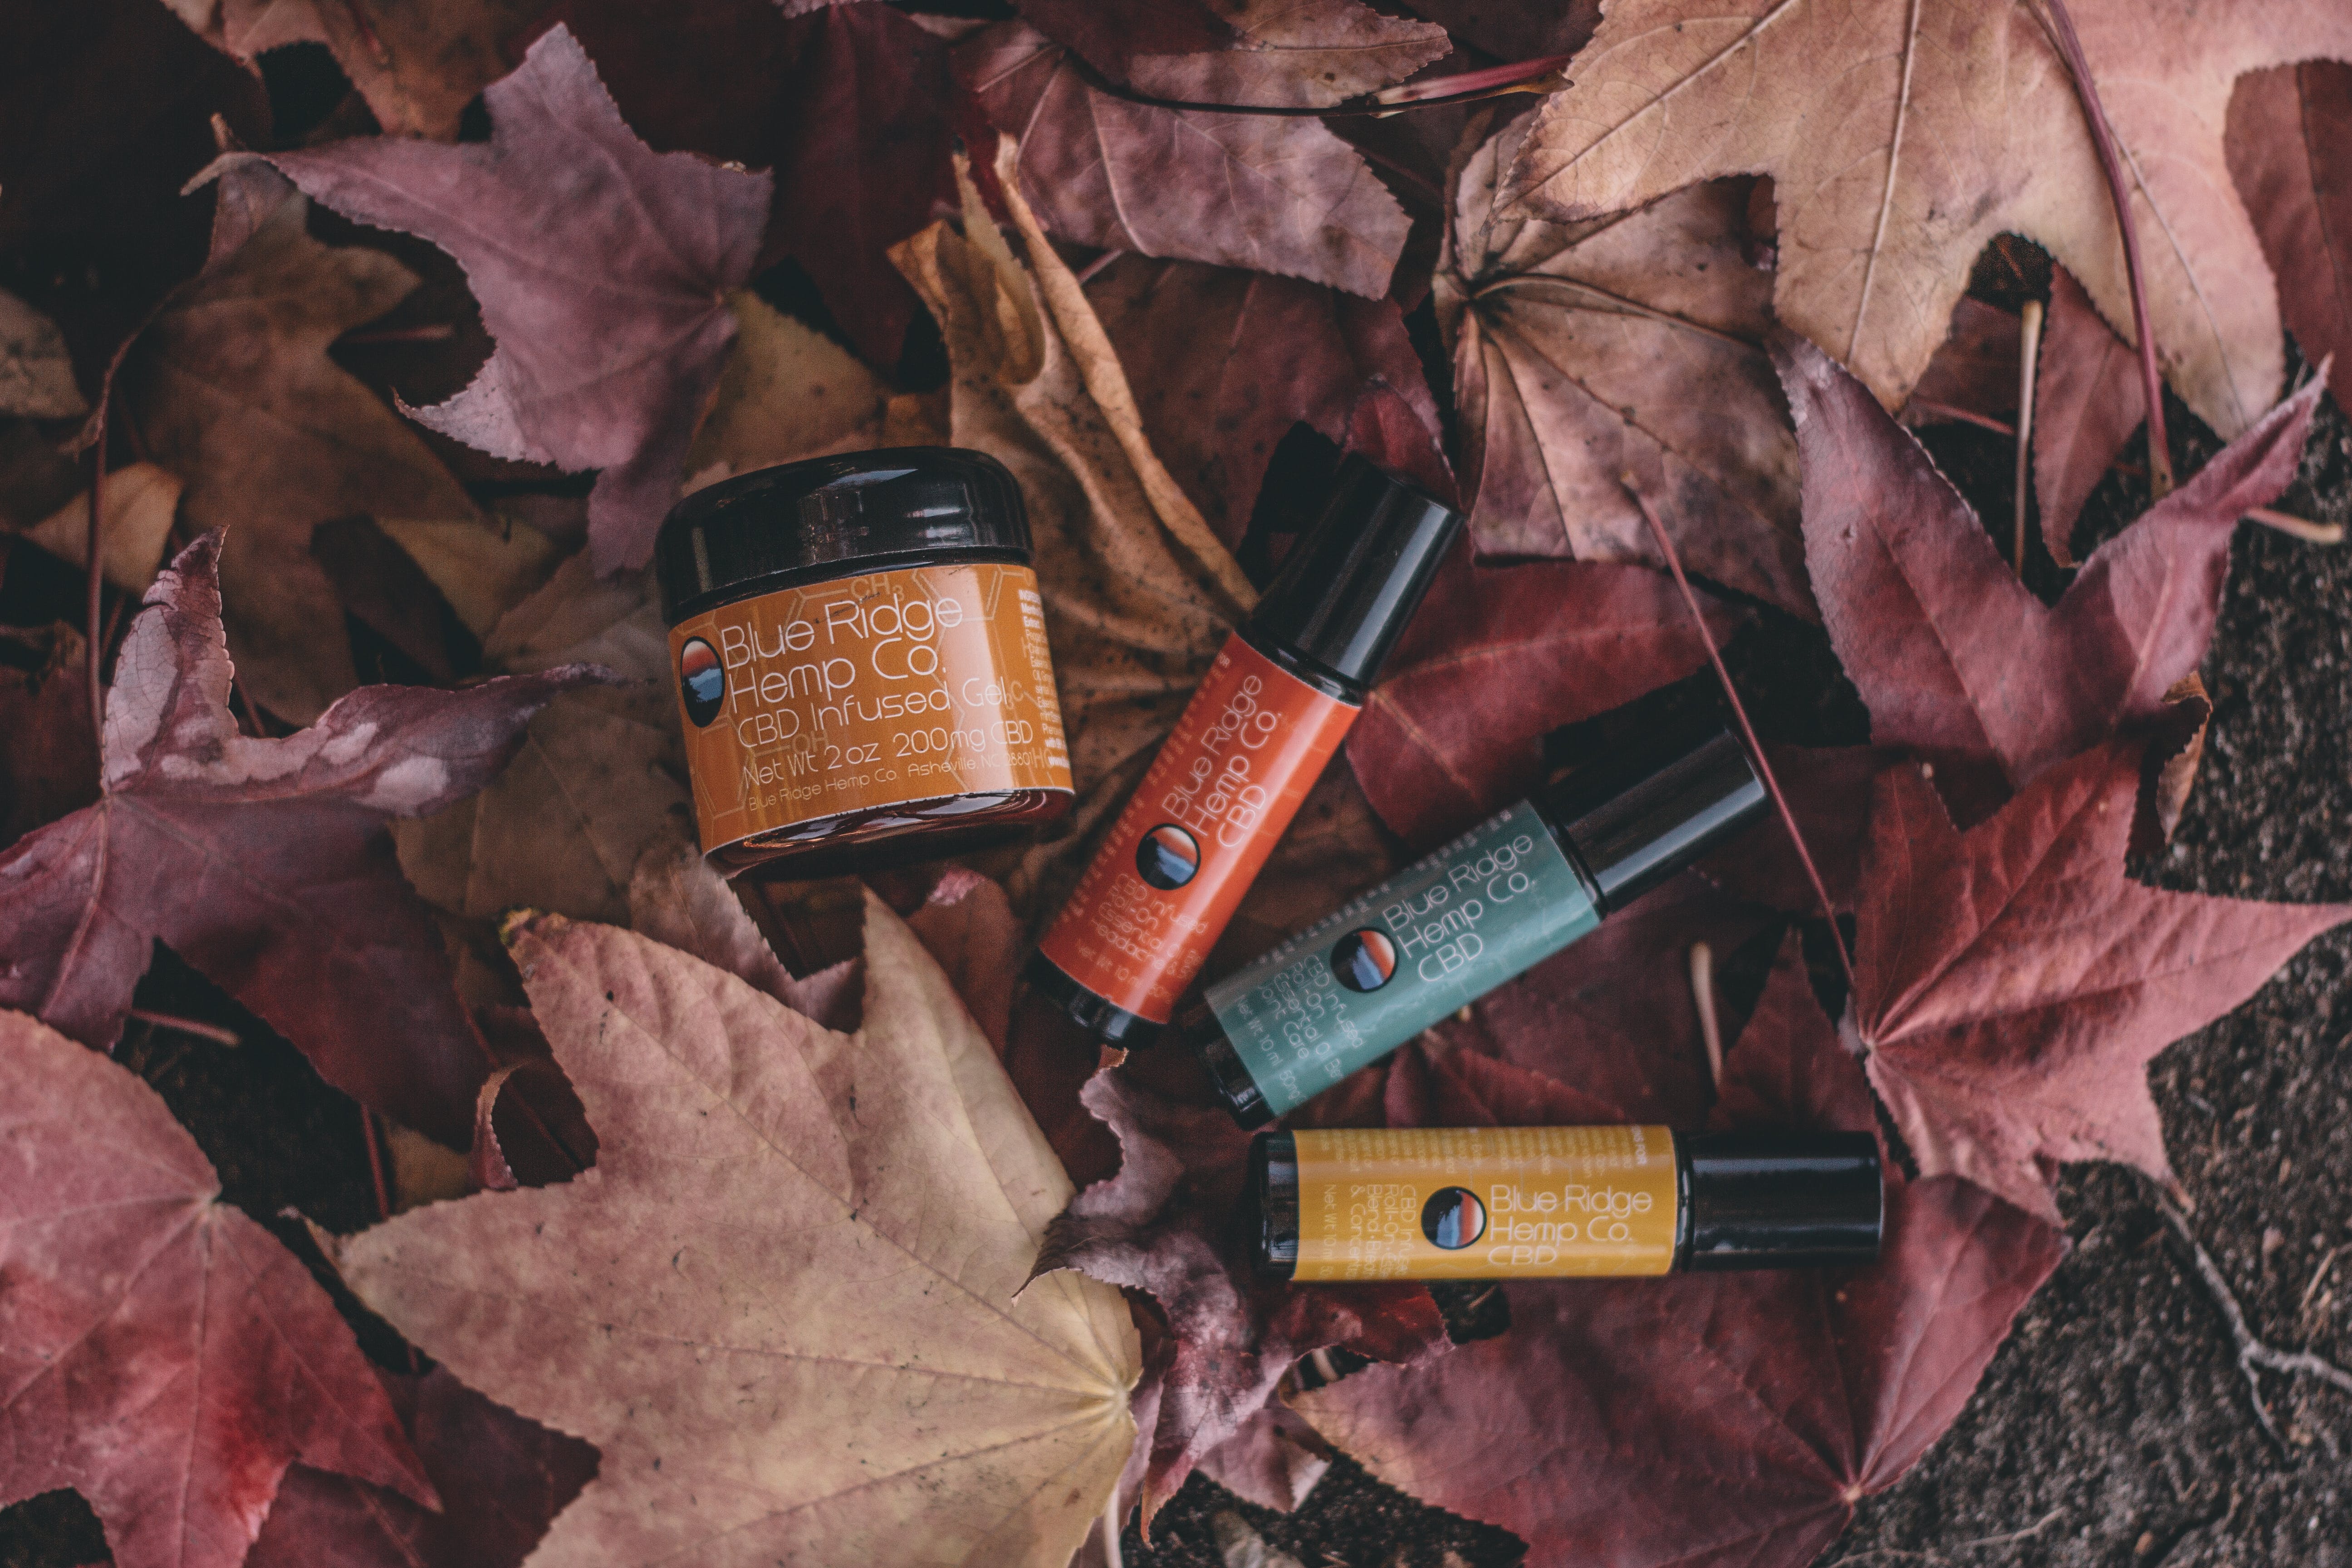
Lifestyle Photography: Customers want to see how a product fits into their everyday lives. Lifestyle photography involves capturing products in real-life scenarios, creating a more relatable and engaging experience for the viewer.
-
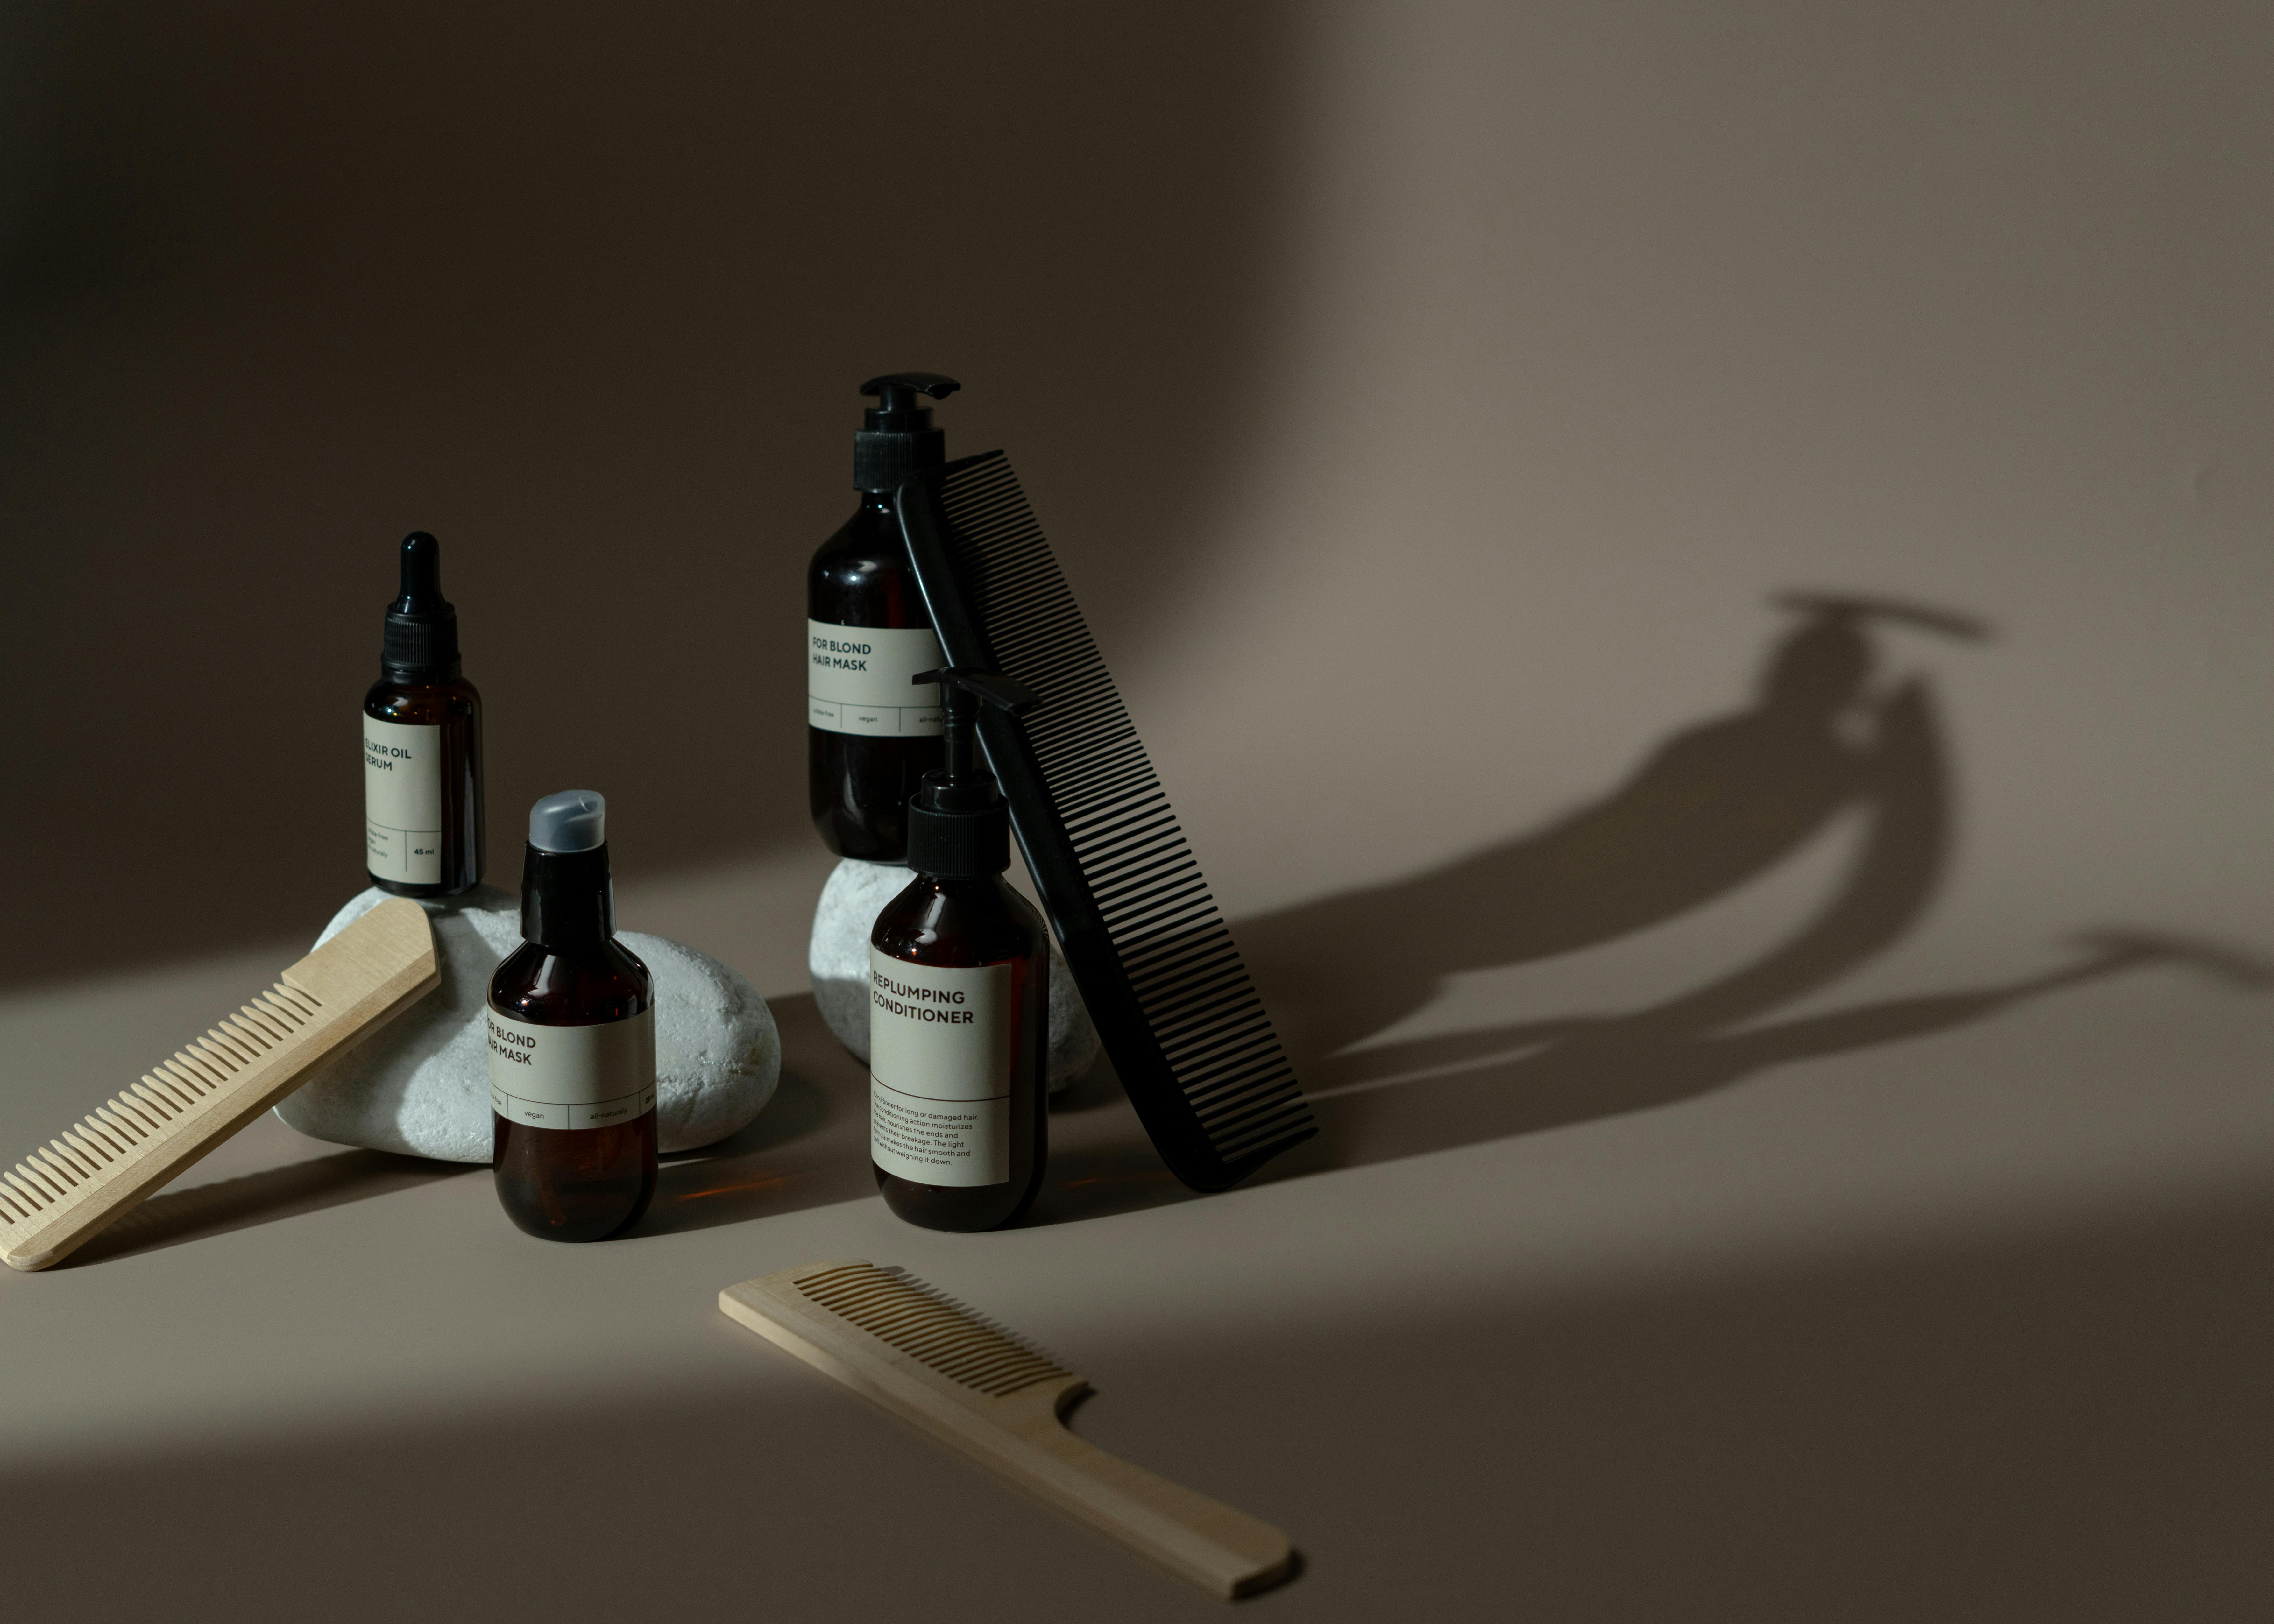
Minimalism and Clean Aesthetics: Clean and simple product images are gaining popularity. Minimalistic backgrounds and simple compositions allow the product to be the main focus, highlighting its features and details.
-
360-Degree Product Views: Providing a 360-degree view of a product allows customers to examine it from all angles, giving them a more immersive shopping experience.
-
Mobile-Optimized Imagery: With the increasing use of mobile devices for online shopping, it's essential to optimize your product images for mobile viewing. This includes using high-resolution images that load quickly and are easy to zoom in and out.
By keeping up with these trends, you can ensure that your product photography remains fresh and appealing to your target audience.

Essential equipment for DIY product photography
Setting up a DIY product photography studio requires some essential equipment to capture professional-looking images. Here are the key pieces of equipment you'll need:
-
Camera: Invest in a camera that allows manual control over settings like aperture, shutter speed, and ISO. A DSLR or mirrorless camera is recommended for its versatility and image quality.
-
Tripod: A sturdy tripod is essential to keep your camera steady and reduce the risk of blurry images, especially when shooting in low light conditions.
-
Lenses: Different lenses provide different perspectives and focal lengths. A macro lens is ideal for capturing close-up product shots, while a standard zoom lens can be versatile for various product types.
-
Backdrops: Choose backdrops that complement your product and brand aesthetic. Seamless paper backdrops are easy to use and come in a variety of colors.
-
Lighting: Good lighting is crucial for capturing well-exposed and evenly lit product images. Invest in studio lights or use natural light with reflectors and diffusers for a softer effect.
-
Props and Styling Tools: Props and styling tools can enhance the visual appeal of your product images. Consider using props that align with your brand and help tell a story.
By having these essential equipment, you'll be well-equipped to create professional-looking product images right from the comfort of your home.
Setting up your product photography studio at home
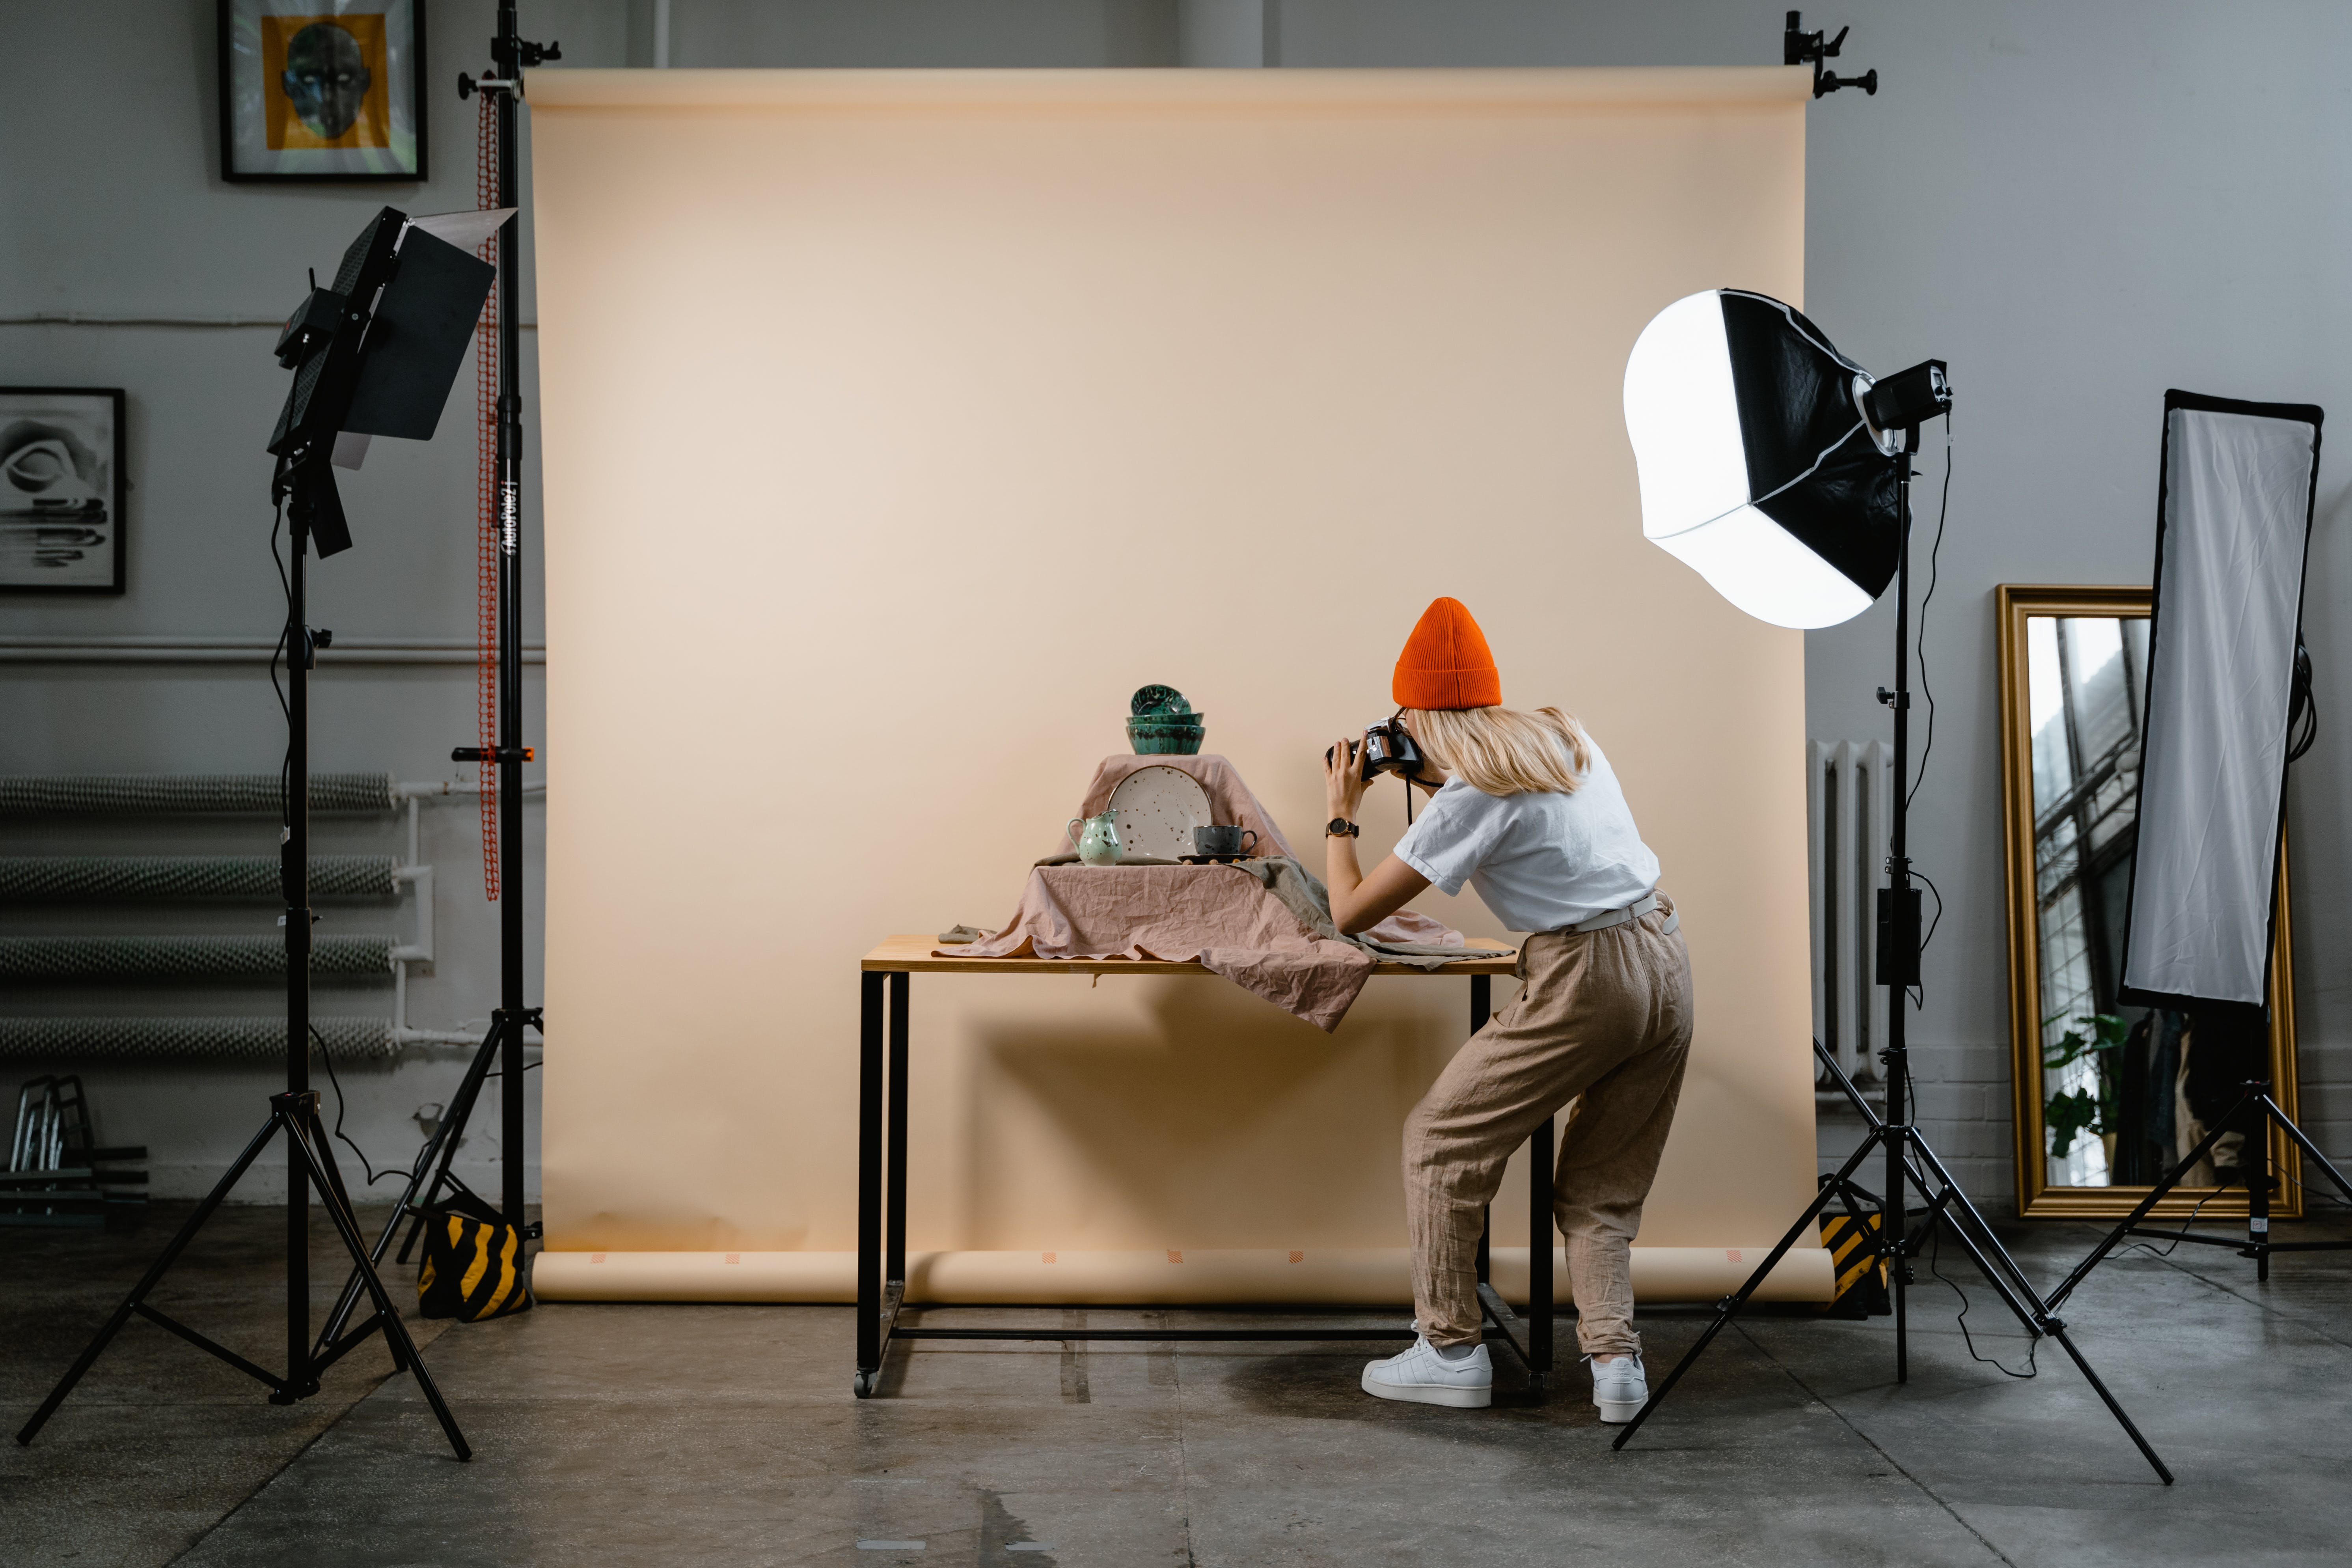
Creating a dedicated space for your DIY product photography studio is essential for consistent results. Here are some steps to set up your studio at home:
-
Choose a Suitable Location: Find a room or area in your home that receives ample natural light or can be easily transformed with artificial lighting. Consider factors like space, accessibility, and noise levels.
-
Declutter and Clean: Clear out any unnecessary items and ensure the space is clean and organized. A clutter-free environment will help you focus on your product and make the setup process easier.
-
Set Up a Shooting Table: Invest in a shooting table or create one using a sturdy table or platform covered with a seamless backdrop. This provides a clean and consistent surface for photographing products.
-
Position Your Lighting: Place your lights strategically to achieve the desired lighting effect. Use diffusers and reflectors to soften harsh shadows and create a more balanced light.
-
Arrange Props and Styling Elements: Set up props and styling elements that complement your product. Experiment with different compositions and arrangements to find the most visually appealing setup.
With a dedicated space and proper setup, you'll be able to consistently produce high-quality product images that showcase your products in the best possible light.
Lighting techniques for professional-looking product photos
Lighting is one of the most critical aspects of product photography. It can dramatically impact the mood, focus, and overall aesthetic of your images. Here are some lighting techniques to consider for professional-looking product photos:
-
Natural Light: Utilize natural light whenever possible. Position your product near a window or in an area with soft, diffused light. Avoid direct sunlight as it can create harsh shadows and highlights.
-
Studio Lights: If natural light is limited or inconsistent, invest in studio lights. Continuous lights or strobes are commonly used in product photography. Position the lights at different angles to create dimension and highlight the product's details.
-
Light Modifiers: Use light modifiers such as umbrellas, softboxes, or diffusers to control and shape the light. These tools help create soft, diffused light that minimizes shadows and provides a more even illumination.
-
Reflectors: Reflectors bounce light back onto the product, reducing shadows and adding highlights. White reflectors create a soft fill light, while silver reflectors add more contrast and intensity.
-
Light Tent: A light tent or lightbox is a portable and affordable solution for diffusing light and creating a seamless, evenly lit background. It helps eliminate harsh shadows and provides a clean, professional look.
Experiment with different lighting setups and techniques to find the most flattering lighting for your products. Remember to adjust the lighting according to the type of product, desired mood, and brand aesthetic.

Composition and styling tips for captivating product images
Composition and styling are key elements in creating visually captivating product images. Here are some tips to enhance your compositions and styling:
-
Rule of Thirds: Use the rule of thirds to create a visually balanced composition. Divide your image into a grid of nine equal parts, and position your subject along the lines or at the intersection points.
-
Negative Space: Incorporate negative space around your product to draw attention to it. Negative space provides breathing room and can create a more elegant and minimalist look.
-
Leading Lines: Utilize leading lines to guide the viewer's eye towards the product. These can be actual lines or implied lines created by the product or other elements in the image.
-
Depth and Layering: Create depth in your images by incorporating layers and different depths of field. This adds visual interest and can enhance the three-dimensional feel of your products.
-
Color and Contrast: Choose colors and backgrounds that complement your product and enhance its features. Consider using contrasting colors to make your product stand out.
-
Tell a Story: Use props and styling elements to tell a story or showcase the product in action. This can create a more engaging and relatable image for your audience.
Experiment with different compositions, angles, and styling techniques to find a style that aligns with your brand and captures the attention of your target audience.
Editing and retouching your product photos
Editing and retouching your product photos is an essential step in the DIY product photography process. It allows you to enhance the image, correct any imperfections, and create a consistent and professional look. Here are some key editing and retouching tips:
-
Software: Use professional photo editing software such as Adobe Photoshop or Lightroom. These tools offer a wide range of editing capabilities and allow for non-destructive editing.
-
Adjust Exposure and White Balance: Fine-tune the exposure and white balance to ensure accurate colors and proper exposure. This helps the product look true to life and enhances its details.
-
Retouching: Remove any dust, scratches, or imperfections on the product using the cloning or healing tools. Be careful not to overdo it and maintain the product's natural appearance.
-
Enhance Details: Sharpen the image slightly to enhance the product's details. Use selective sharpening techniques to avoid introducing noise or artifacts.
-
Background Cleanup: Remove any distractions or unwanted elements from the background. This helps create a clean and professional look.
-
Consistency: Maintain consistency in editing across all your product images. This ensures a cohesive look and reinforces your brand identity.
Remember to save your edited images in the appropriate file format and resolution for online platforms or print. Regularly backup your edited files to avoid any data loss.
Optimizing your product images for online platforms
Optimizing your product images for online platforms is crucial to ensure fast loading times, high-quality display, and better search engine visibility. Here are some optimization tips:
-
File Size and Compression: Compress your images without compromising quality. Use compression tools or plugins to reduce file size without significant loss of detail.
-
Image Dimensions: Resize your images to the appropriate dimensions for your website or marketplace. This helps reduce load times and ensures images fit within the designated space.
-
File Format: Use the appropriate file format for your images. JPEG is commonly used for product images due to its small file size and compatibility with various platforms.
-
Alt Text and Image Descriptions: Add descriptive alt text and image descriptions to your product images. This helps search engines understand what the image is about and improves accessibility.
-
Image SEO: Optimize your image file names and include relevant keywords. This can help improve your overall search engine ranking and increase organic traffic to your product listings.
By optimizing your product images, you can enhance the user experience, increase conversions, and improve your online visibility.
DIY product photography mistakes to avoid
While DIY product photography can be a cost-effective and convenient option, there are some common mistakes that you should avoid. These mistakes can negatively impact the quality and effectiveness of your product images. Here are some key mistakes to watch out for:
-
Poor Lighting: Insufficient or improper lighting can result in dull, poorly exposed images. Invest in proper lighting equipment and learn how to use it effectively.
-
Blurry Images: Camera shake or improper focus can result in blurry images. Use a tripod, remote shutter release, or self-timer to minimize camera shake, and ensure your product is in sharp focus.
-
Inconsistent Backgrounds: Inconsistent backgrounds can make your product images appear unprofessional. Use seamless backdrops or ensure a consistent background throughout your product photography.
-
Overediting: Overediting can make your product images appear unnatural and unrealistic. Aim for a clean, polished look while maintaining the product's integrity.
-
Inaccurate Colors: Colors that don't accurately represent your product can lead to customer dissatisfaction. Ensure proper white balance and color calibration to achieve accurate and consistent colors.
-
Lack of Variety: Using the same composition, angle, or styling for all your product images can become monotonous. Experiment with different styles and perspectives to create visual interest.
By avoiding these mistakes and continuously learning and improving your skills, you can elevate the quality of your DIY product photography and create images that effectively showcase your products.

Additional resources and tools for DIY product photography
To further enhance your DIY product photography skills, here are some additional resources and tools that you can explore:
-
Online Tutorials and Courses: There are numerous online tutorials and courses available that provide in-depth guidance and tips on product photography techniques.
-
Photography Communities and Forums: Engage with photography communities and forums to connect with other photographers, seek advice, and gain inspiration.
-
Product Photography Books: Invest in books that focus specifically on product photography. These books provide valuable insights, techniques, and inspiration from experienced photographers.
-
Editing Software Plugins and Presets: Explore editing software plugins and presets that can streamline your editing process and provide professional-looking results.
-
Online Marketplaces and Social Media: Analyze successful product images on online marketplaces and social media platforms to gain inspiration and understand current trends.
By leveraging these resources and tools, you can continuously improve your DIY product photography skills and stay up to date with the latest trends and techniques.
Conclusion
In conclusion, high-quality product photography is crucial for the success of any business in the digital age. By understanding the importance of high-quality images, staying updated on the latest trends, and investing in essential equipment, you can create professional-looking product images right from the comfort of your home.
By mastering lighting techniques, composition, and styling, you can capture captivating product images that effectively showcase your products and engage your target audience. Editing and optimizing your images for online platforms further enhance their impact and visibility.
While DIY product photography has its challenges, by avoiding common mistakes and continuously learning and improving your skills, you can elevate the quality of your product images and successfully represent your products online.
Remember to make use of the additional resources and tools available to further enhance your DIY product photography skills. With practice and dedication, you can create stunning product images that drive sales and help your business thrive in the competitive online marketplace.


