Table of Contents
-
- 1. Choose an Area of Interest
- 2. Select a Type of Astrophotography
- 3. Define the Weather
- 4. Use Camera Bodies
- 5. Add Extra Equipment for Astro
- 6. Adjust the Camera
- 7. Edit Your Photos
- 8. Pay Attention to White Balance
- 9. Mount the Camera on the Telescope
- 10. Take Test Photos
- 11. Think about Telescope for Your Camera
- How to Choose a Telescope?
- Create Your Astrophotography Portfolio Website
A completely different world opens to us as soon as daylight turns dark. The sky is covered with stars and various celestial bodies. When looking at this miracle, you want to immediately take a photo and leave this moment in your memory. But how to take night sky photos if the galaxy is so far away? To do this, you should do the following:
- Check the weather forecast
- Plan your astrophoto session
- Choose a camera to take photos
- Prepare extra accessories
- Adjust the camera
Astrophotography captures various celestial objects in the night sky. It includes the Moon, stars, planets, and even galaxies. Astrophotos range from simple sky landscapes to detailed close-up images of the cosmos. Your space photography results depend on your camera and your ability to use it.
Shooting the night sky can seem like a daunting task. But it does not require a lot of time and money. You need only basic knowledge so that you know how to approach this process correctly. To familiarize yourself with this in more detail, we have prepared special space photography tips.
1. Choose an Area of Interest
To succeed in photography, you should know the basics of astrophotography. And this applies not only to the equipment but also to the correct approach to this process. As you immerse yourself more in this study, you will better define your interests. It can help you determine a direction in astrophotography in which you'll move. So start your journey with the following:
- Look for like-minded people
If you have an astrophotography community in town, go there. Or, if you have the opportunity to attend a photography school, sign up. There you will be able to practice and understand your interests more. It will direct you to a specific type of space photography.
- Get to know the starry sky
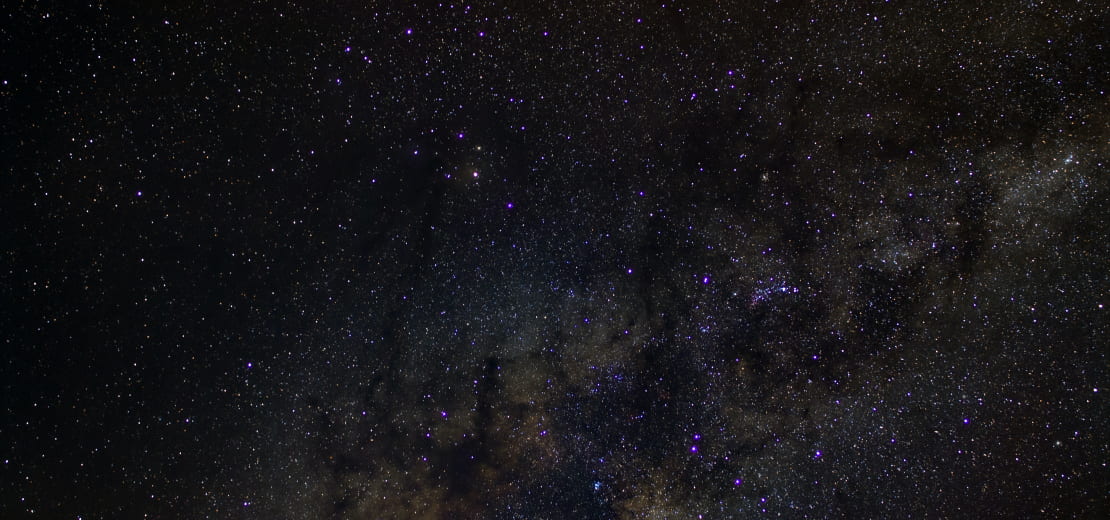
Find out what a pole of the world is and how it relates to the North Star. Memorize the positions and names of the brightest stars. And remember the appearance of the most notable constellations. Also, find out when and where they appear in the sky.
- Study the places where astrophotography is the best
Illuminated streets and shop windows are not the best places for astrophotography. A cluster of lanterns and searchlights obscures the starry sky. Thus, it is best to shoot outside the city, far from the hustle and bustle of the metropolis. Do it when there is no single sky cloud.
That's how, starting with such basics of astrophotography, you will be able to involve deeper into it. It helps to increase your interest in it and learn more.
2. Select a Type of Astrophotography
Do you want to photograph near and far space objects? First, decide which type of space astrophotography you like the most:
- Astrophotography of night landscapes
It allows you to create landscape photos with stars. And it does not need any high-tech equipment. You can do it with digital cameras with an exposure that usually does not exceed 30 seconds.
- Deep space astrophotography
It involves photographing distant celestial structures beyond our galaxy. It usually requires a telescope.
It allows you to take pictures of individual planets. Photographers do it by using a telescope mounted on a digital camera.
- Astrophotography of the Solar System
It captures planets, natural satellites, the Sun, and other objects in our Solar System.
- Wide-angle astrophotography
It shoots night sky photography using a digital camera with a wide-angle lens.
- Time-lapse astrophotography
It combines many wide-angle shots of the night sky to create a moving image or video.
If you are going to do any of these astrophotography shoots, there are a few things to keep in mind. For example, avoid noise in photos. Usually, it appears with too long exposures or due to the low sensitivity of the matrix. So, before astrophotography, you should understand the camera settings, especially for beginners.
3. Define the Weather
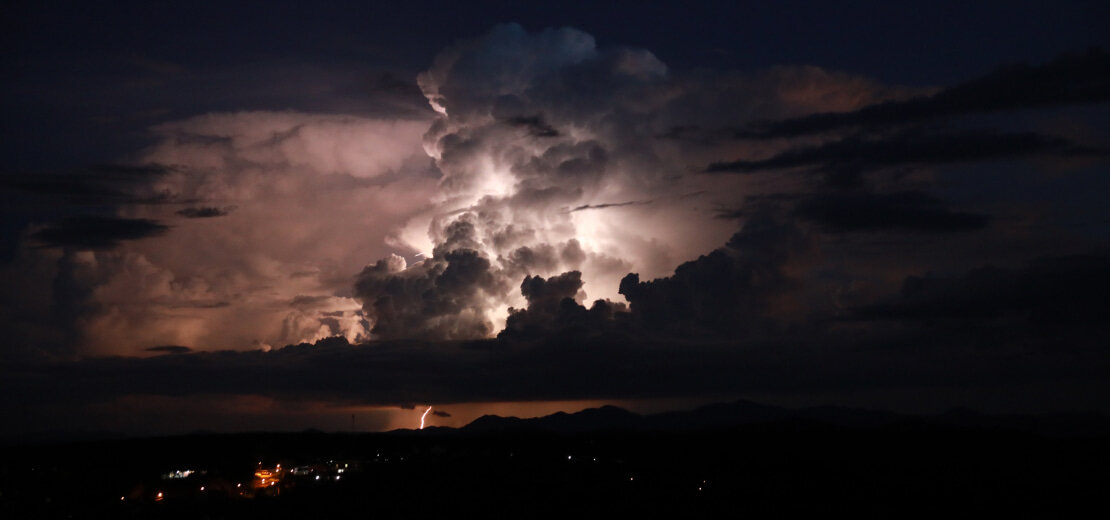
Have you started photographing the sky, and there is nothing to see except the fog? It is primarily a mistake of many beginners. You can forget to consider the weather conditions before astrophotography. But for high-quality space photography, this is the most crucial factor. So, astronomy lovers have to know at least basic knowledge of meteorology. It will help to choose a day on which the sky will be the clearest.
Of course, modern weather sites on the Internet allow you to get a weather forecast. But understanding what kind of atmosphere to expect is worth knowing basic meteorology. To do this, familiarize yourself with the cloudiness, which is in points:
- 0 points – completely clear sky;
- 3 points – no more than a third of the sky has clouds;
- 4 points – variable cloudiness, sometimes about half of the sky is with clouds;
- 5 points – half of the sky is with clouds;
- 7 points - about 70% of the sky has clouds. There are gaps in the shadows;
- 10 points - the atmosphere is overcast and gloomy.
For night sky photography, the best option is a cloudiness of zero points. But on a scale of 0 to 5, it is also possible to take great pictures. If the cloudiness is more than 5 points, it is unlikely that the photos will be clear.
4. Use Camera Bodies
The list of necessary equipment depends on the type of astrophotography you choose. You'll need special equipment to take a detailed image of another galaxy. But astrophotography for beginners does not need expensive equipment.
You can take pictures with an average-quality camera. The most important thing is the correct use of this and extra equipment. Here is a list of the equipment you will need:
-
Camera
There are DSLRs, mirrorless cameras, and even compact cameras. Besides the standard options, there are cameras designed for astrophotography. But for space photography, it is crucial not the camera itself but its functionality:
- The most important thing is to work in low light. The ISO invariance and high ISO option are helpful features.
- The wide dynamic range is also helpful because you don't have a lot of light to work with.
- You should also be able to shoot in RAW. You need to post-process your images, and there's nothing better than RAW.
The main thing is to choose a camera with appropriate settings for this. You can get beautiful night space photography with any camera. You just need to be able to use these functions correctly.
-
Lens
You need high brightness and the ability to shoot at a wide angle from the lens. A wide-angle lens is ideal for night sky photos. It is best suited for low-light and long-exposure shooting. A wide-angle lens allows you to fit more background or landscape into the frame. The smaller the aperture of your lens, the more light will pass through the camera. It is so crucial in astrophotography for beginners.
-
Remote shutter release
To keep your camera still, you can buy a unique remote control. It lets you press the shutter button remotely. So you don't create vibrations during photography. You can also prevent camera shaking with the built-in timer. It is a good way on how to take night sky photos easily.
-
Tripod
No matter what lens or camera you use, astrophotography requires long exposures. If the camera moves while taking a picture, your photo can have motion blur. You will need a tripod to stabilize and cut the camera shake. It will allow you to set the camera at the right angle and create an ideal composition.
5. Add Extra Equipment for Astro
Besides the standard astrophotography equipment, there are others. With their help, you can learn how to take night sky photos in the best quality. So, you need the following extras to work with your camera:
-
Fabric for lenses made of microfiber
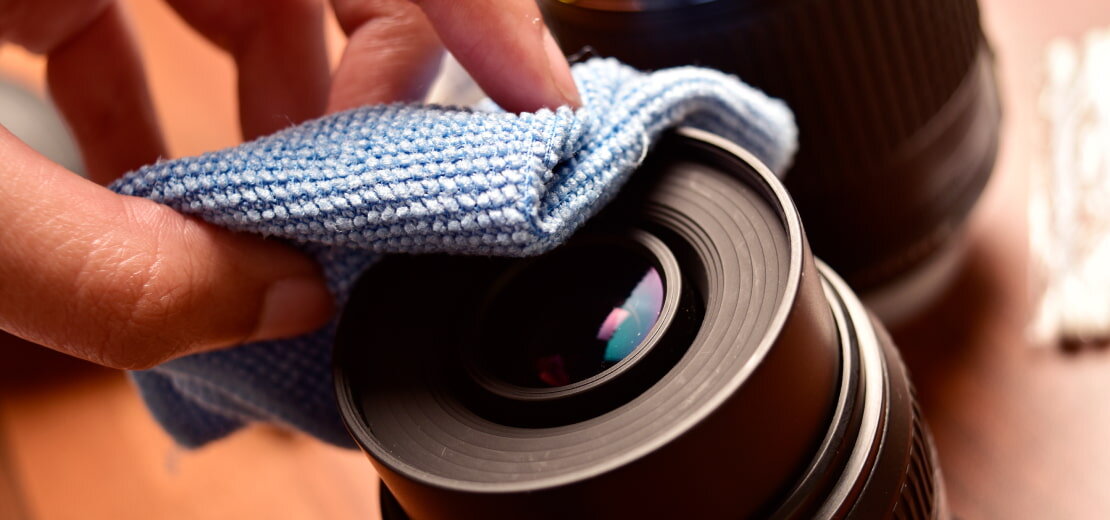
For most of your shots, you point the lens at the sky. Especially in the summer months, you will have to work with moisture and dew. It is a direct obstacle to clear night sky photography. So, carry at least one clean microfiber cloth with you. It lets you remove any humidity that accumulates on the lens during long exposures.
-
Camera with manual mode
If you have a manual mode, but the quality is worse than the primary camera, use the one with manual mode. You should be able to control as many factors as possible. So, it is imperative to take good photos in manual mode. With a long exposure, its time starts as soon as you open the shutter. It continues until you end the process by closing the shutter again. Thus, your space photography can be of better quality thanks to this mode.
-
A light pollution filter
Another accessory that can come in handy is a light pollution filter. From its name, you can guess that this thing is for removing light pollution from night photos.
Now that you know what tools you will need. With this, you can make better images and achieve better quality. These things are significant during astrophotography for beginners.
6. Adjust the Camera
Astrophotography requires minimal experience. Thus, before moving on to this type of photography, ensure you have at least basic skills. They are about managing camera settings. You should know how to set up your device, so your photos are flawless.
Exposure, ISO, and the like are important things for it. You need to be able to change them depending on the weather. So, practice using them until you find the perfect settings. To make it easier for you to create astrophotography, keep the instructions for setting up the camera for beginners:
-
Exposure
The stars move as the Earth rotates. So, to capture clear light spots on the camera set the shutter speed to no more than 20 seconds. Increasing the shutter speed beyond this time will result in star trails.
-
Aperture
Thanks to this, the largest light will enter the camera for a short shutter speed. Remember that the depth of sharpness reduces at wide apertures. It means that all close objects will be out of focus.
-
ISO
The third factor that affects the exposure of space photography. The higher the ISO, the more sensitive the matrix is to the light that falls on it through the aperture. But if you set it too high, your shots will look grainy. Try ISO 1600 first and adjust it to see how it affects the result.
-
Focusing
Concentrating in the dark takes work. After all, the autofocus system sometimes has nothing to focus on at night. Accordingly, we recommend that you adjust the focus on the camera yourself. If that doesn't work, illuminate the frame with a flashlight. When the camera focuses, you can take the flashlight and take a shot.
It's how you can take night photos faster and better. It is impossible not to know these settings for those who are in astrophotography. The result of your work depends on the ability to use them. So use this, and even in cloudy weather, your astrophotos will be incredible.
7. Edit Your Photos
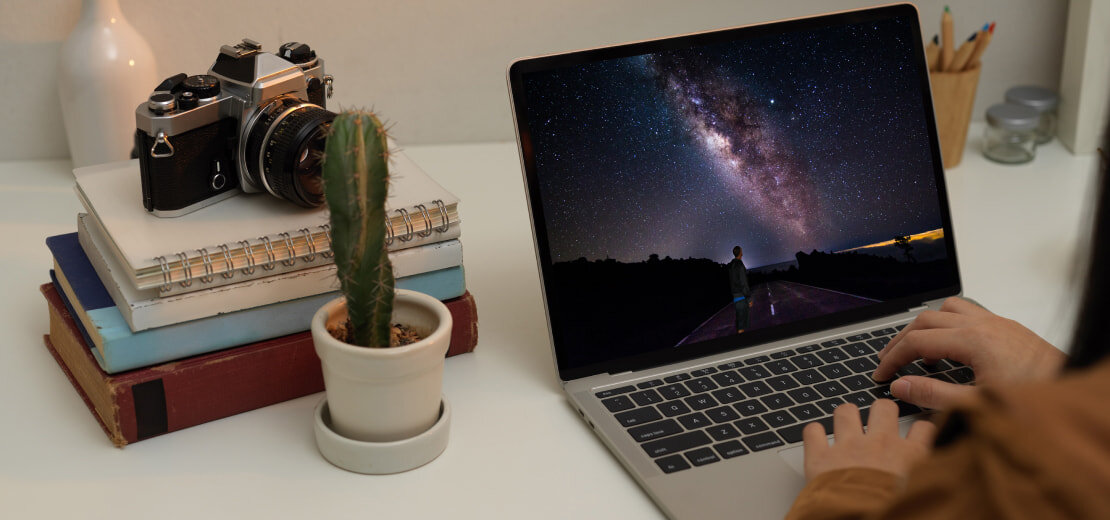
Basics of astrophotography include editing and correcting the images. It helps to reveal the pictures' color palette as much as possible. If the photos are not processed, they can be blurred due to light pollution or other factors. Thus, special attention to apps for processing is essential, so your result is terrific. The first thing you should learn is:
- Adjust levels and curves;
- Correct localized diversity;
- Reduce noise.
Astrophotography is one of the most complex types of photography in terms of equipment and technical requirements. But using the knowledge of photo editing, you can create impressive pictures. Nowadays, no photo can exist without processing. And it doesn't matter what quality your camera is.
Processing is essential in any case to give a photo depth and creativity. And this especially applies to night sky photography. But do not get too excited about it. You don't need to focus too much to see the stars in the photo. Your editing should be natural and not forced. Only in this way can astrophotos look like real art.
8. Pay Attention to White Balance
White balance is a separate topic that requires specific knowledge and skills. It is a whole tutorial on how to take night sky photography. In most cases, the automatic white balance creates a brown color of the sky. And if you do not know how to change such parameters, you need to refer to the camera manual.
White balance settings affect the entire image. And if you include some objects in the foreground, you need to consider how you will use the light falling on them. Experienced photographers, for these purposes, use different lighting with the help of flashlights. And the white balance settings help determine precisely how to use them:
- When the general light is very blue, illuminated objects appear unnaturally blue. It especially applies when you shoot from your white balance at the "tungsten" value.
- To avoid such a picture, you can use a flashlight with a xenon bulb or an incandescent lamp. They have a high shade temperature and make it possible to neutralize the blue effect in space photography.
- If you shoot with a white balance of 10,000K, you can use an LED. Its blue hue makes it possible to neutralize the high color temperature.
For a cold white balance, try to use warm light. And for a warm white balance, use cold light. Also, shoot in RAW format. Such basics of astrophotography camera settings will not make you wait for success in astrophotography.
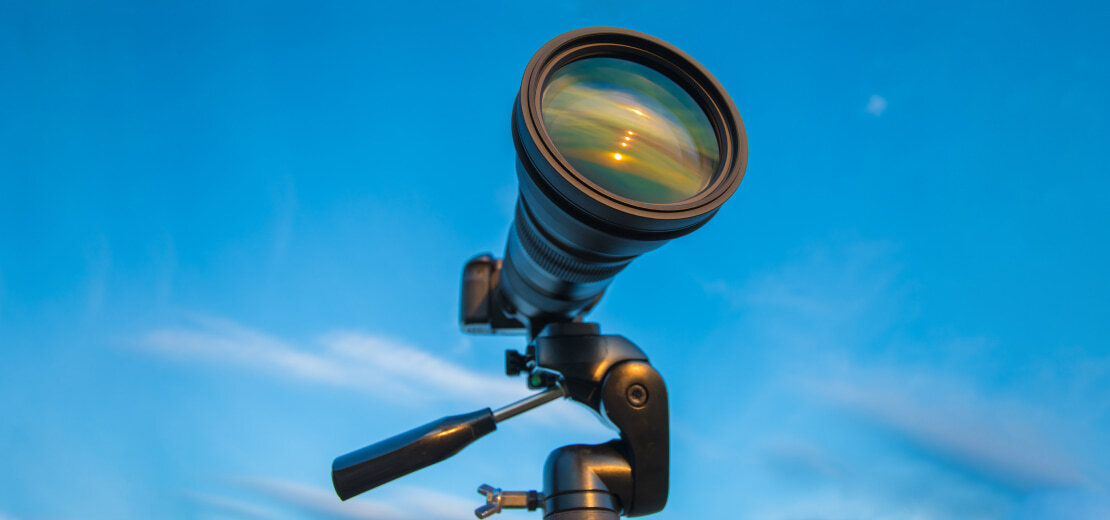
9. Mount the Camera on the Telescope
You can attach the camera to the telescope in three ways for space photography:
- On the telescope tube;
- On the rod of the counterweight;
- In the focuser.
There are adapters for each type of attachment:
- If installed on a telescope tube, you can place the camera on a second prismatic rail with photo filament. These rails connect the two clamps on the opposite side of the frame. Next, you need only a regular photo thread to attach the camera;
- In the case of counterweight rods, there are camera adapters. This mount has a photographic thread that allows the camera to be screwed in very quickly. When the optics are heavy enough, it is better to mount the telescope focus.
A camera lens for a telescope allows you to take excellent long-exposure space photography. Thanks to this, you can take a shot at the constellations and the Milky Way.
10. Take Test Photos
Before proceeding with astrophotography for beginners, take test photos. In the camera's viewfinder, the object does not always look as good as through the eyepiece. And it is challenging to find the exact focus point because most subjects appear dark. Thus, do everything step by step:
- First, find the moon or any other luminous body that looks good on the camera screen. It helps you to get a good focus faster. The light should be neither too dim nor too bright.
- Take a test exposure of about 10 or 15 seconds. This time is enough for the stars to appear in night sky photography.
- Then, digitally enlarge the image. If it looks sharp, you have found the optimal approach. If this is not the case, the stars will appear as small discs with a black center.
- Keep trying until it works. Then you can start experimenting with long exposure times.
- During observation, it is not very easy to control the exposure time. So, the camera's timer can beep to let you know when it's ready.
Perhaps the result of these steps will not be successful on the first try. After all, you can get high-quality space photography only thanks to experience. So practice doing this until you are satisfied with your work. Gradually, you will get used to the organization of the astrophotography process. And it will not cause you any difficulties.
11. Think about Telescope for Your Camera
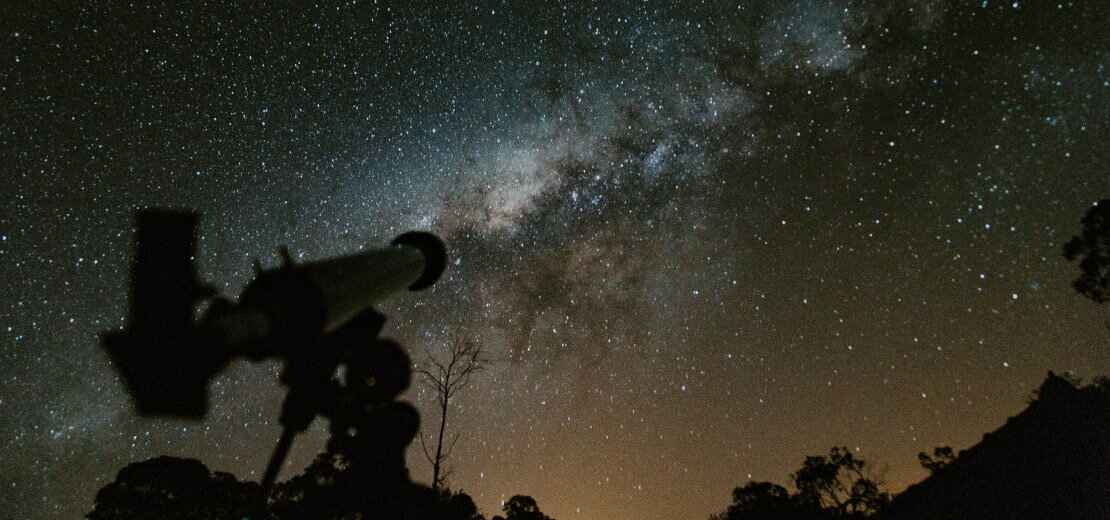
Ideal astrophotography lenses for beginners photographing celestial bodies are telescopes. They have appropriate focal lengths and are designed to introduce minimal distortion. Amateur telescopes differ primarily in their optical system and focal length. Any of them is suitable for photography: mirror, lens, and mirror-lens:
- SLR is one of the best. It gives a perfect-quality image. This is because it contains elements to end defects such as chromatic aberrations.
- An optical reflex system is also a good option. It is the simplest of all constructions. It does not contain lenses, so its price is relatively low.
An equally important role in choosing a telescope for space photography is its diameter. The larger the diameter of the telescope tube, the higher the luminous power of the "lens". Also, make sure your telescope comes with a tripod. It helps keep the camera on the telescope steady and produce clear images.
How to Choose a Telescope?
You have to choose it according to specific criteria. It includes focal length, hardware, and mounting type. Astrophotography for beginners involves the use of a telescope. Thanks to this instrument, you can create cosmic masterpieces. But when it comes to its choice, everything stops. Because finding and choosing a proper telescope is not so easy. For this, you need to consider many pros and cons. And also determine the purpose of using the telescope.
Many people believe that the magnification of a telescope is its most important characteristic. But in reality, it is not quite so. The most crucial parameter is the aperture of the telescope, that is, the diameter of its "eye." So, there are more criteria you should consider before choosing a telescope for space photography:
|
Criteria |
Description |
|
Focal length |
The focal length is the distance from the lens to the point in the eyepiece where all the light rays are. It affects the degree of magnification and the quality of the visible image. The higher the indicator, the better the object is visible. Structurally, the focus increases the length of the telescope itself. It affects its storage and transportation convenience. |
|
Hardware |
It determines the ability of the lens to collect light. The quality of your night sky photography depends on it. The characteristic establishes a direct connection between the number of reflected rays entering the lens. With high indicators, the telescope allows you to catch the weak reflected radiation of distant space objects. Recommended aperture parameters (lens diameter):
|
|
Mounting type |
Mounting is a stand for a space photography telescope. It has three main types of special movable supports:
|
That's how you can choose a telescope based on the criteria. Its proper functioning and characteristics will lead you to success in space photography.
Create Your Astrophotography Portfolio Website
As with most things, practicing is the best way to become an astrophotographer. Choose the right equipment, understand the settings, and learn photo editing. All these things have a tight connection. So, you should know them to get high-quality night sky photography.
And to make it easier to figure it out, Portfoliobox will come to your aid. Our website can serve you as a source of helpful information for a successful photography session. Consequently, with Portfoliobox, you will become a professional in this field.


