Table of Contents
After creating your Appointment Services, the next step is to make it easy for your customers to book an appointment. To achieve this, you must create an Appointment Page allowing your customers to schedule an appointment easily. Below are some examples to help you set up your scheduling page.
Use an Appointments Page template
- Click Create
- Choose Bookable Appointments under E-commerce
- Select a template
- All your bookings will be displayed on this page by default

Display only specific Appointments
- Click on Edit Services
- Choose Change Content
- Select which services you want to display
- All Services
- Selected Personnel
- Set the number of services or products you want to display.

Single Personnel or Single Appointment template
- Click Create
- Choose Bookable Appointments under E-commerce
- Select a Single Personnel or Single Appointment template
- Edit the sample information on the page
- Right-click the button and choose Change Content
- Select a service already created.
- Decide on Checkout Options:
- Open the checkout directly:
If enabled, when your customer clicks the scheduling link, the selected service will be added to their cart, and they will be redirected to the checkout page to complete the payment. - Select a specific service and/or personnel:
If you choose a specific service and/or personnel, your customer will book that exact service with the selected person. If no service or personnel is specified, customers will be able to choose both the service and the staff member during booking.
- Open the checkout directly:
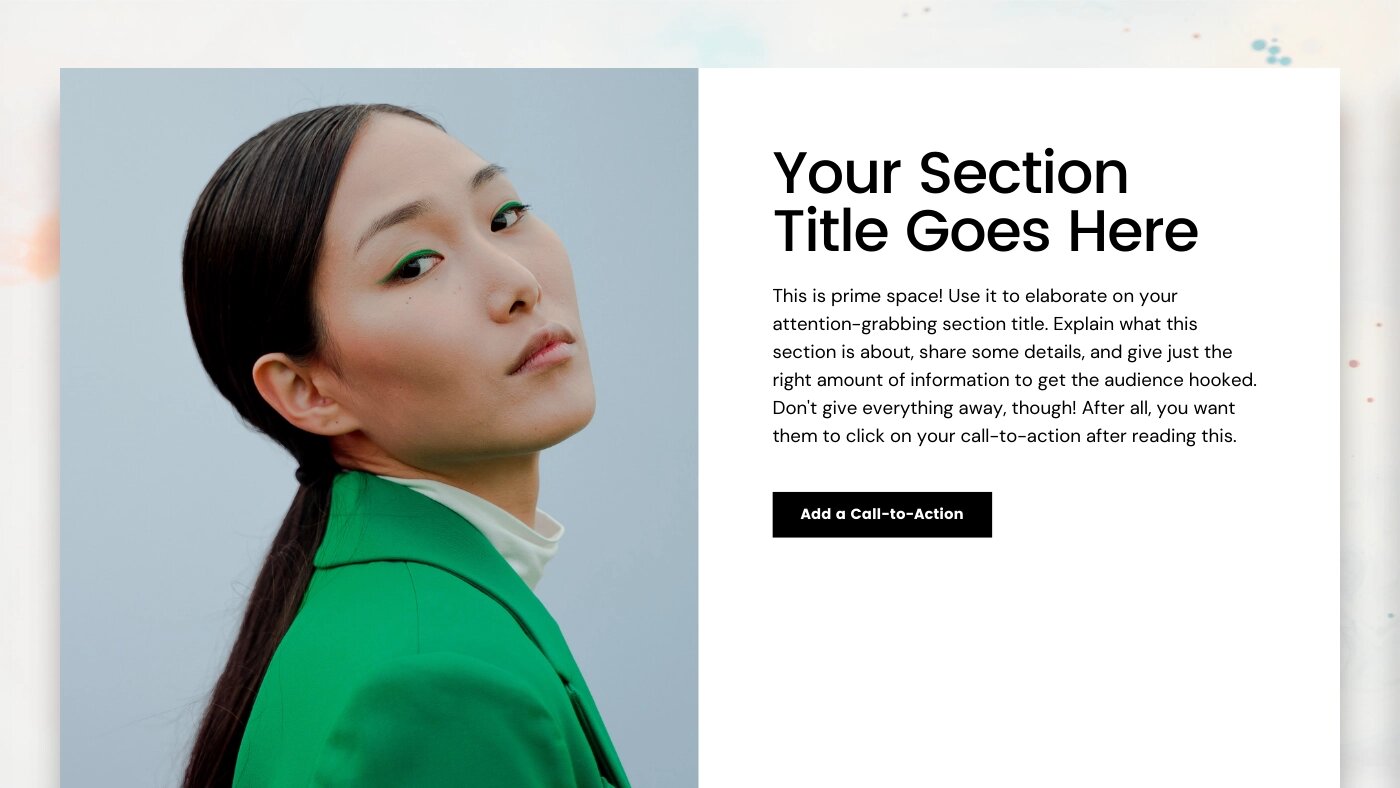
Below is an example of a dedicated page with the service details, price, time, and a button to book an appointment.


